Just a partial week in the workshop this week but I still managed to create quite a variety of things.
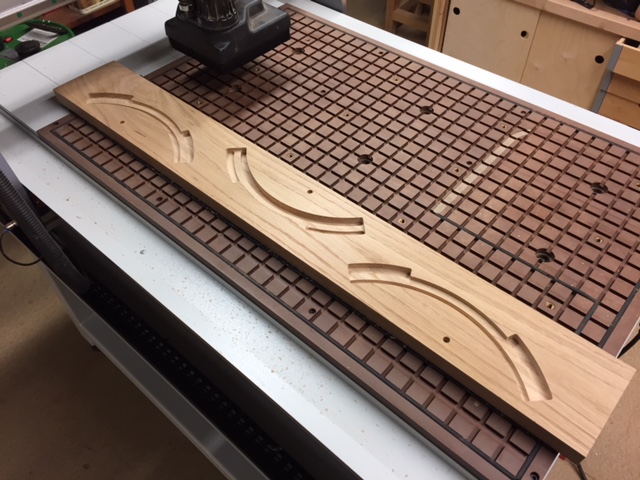
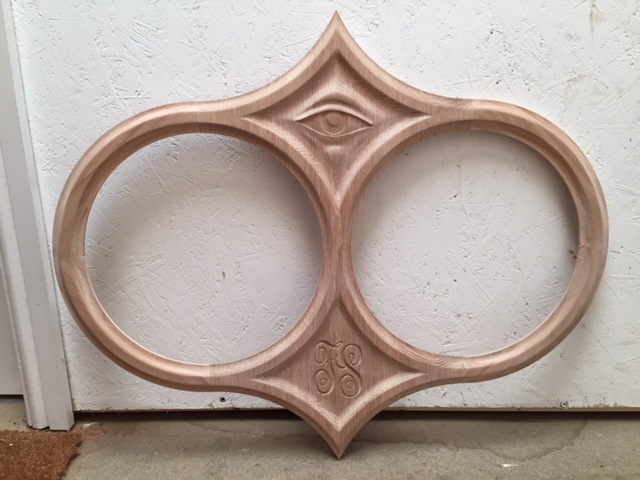
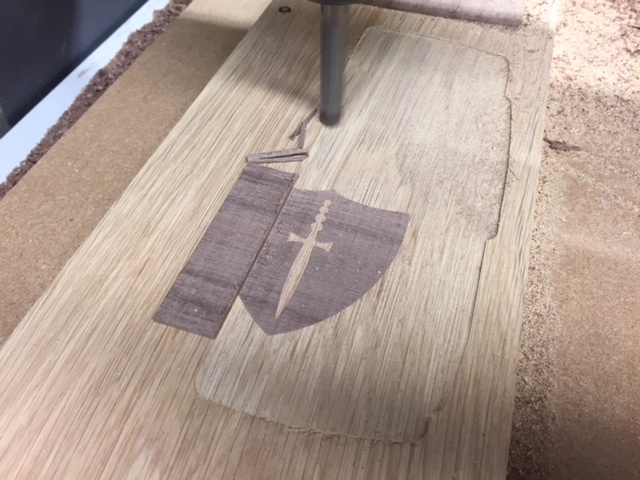
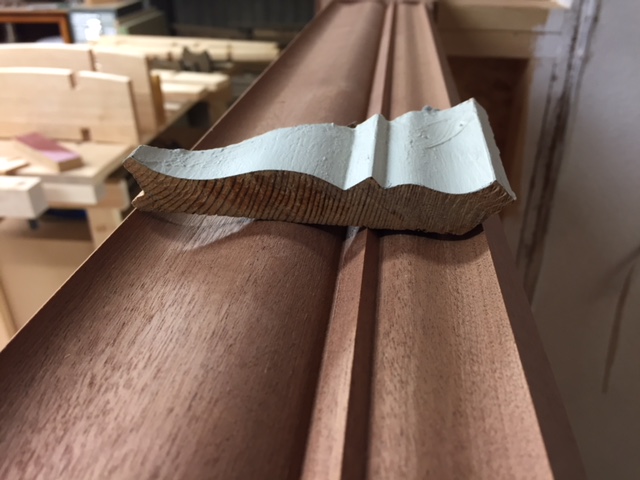
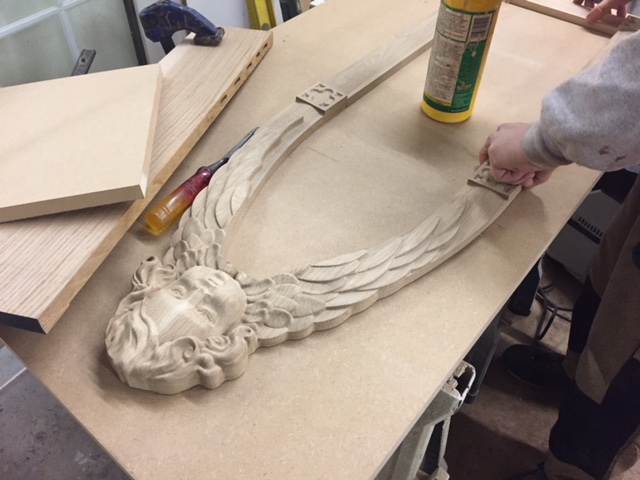
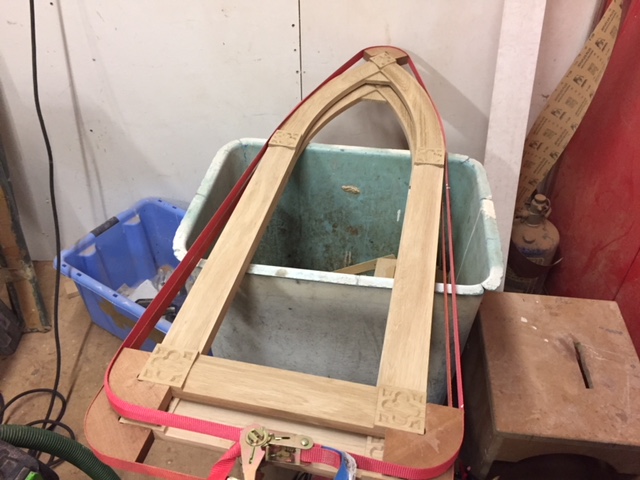
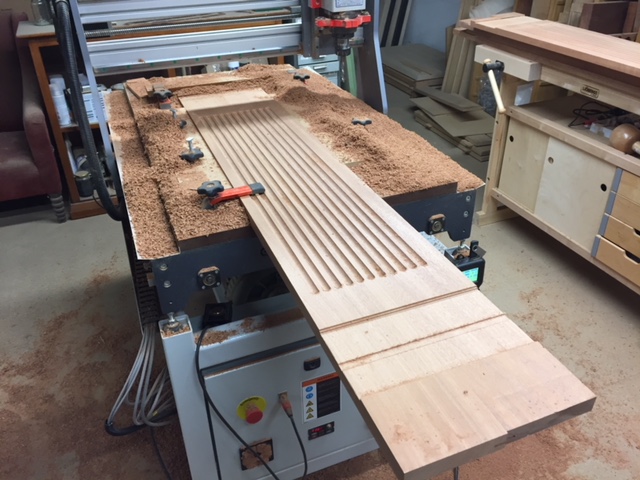
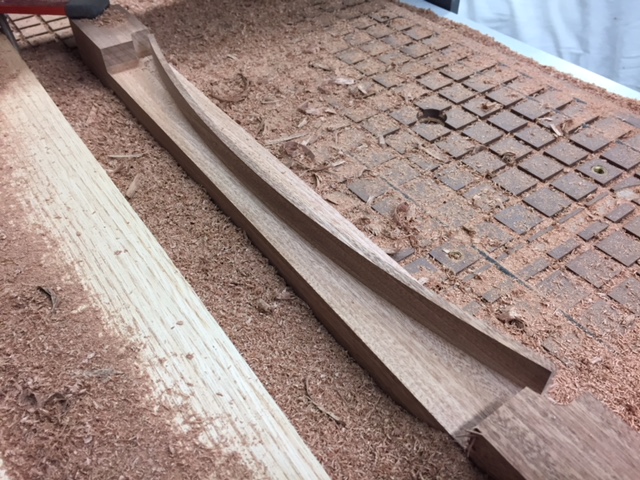
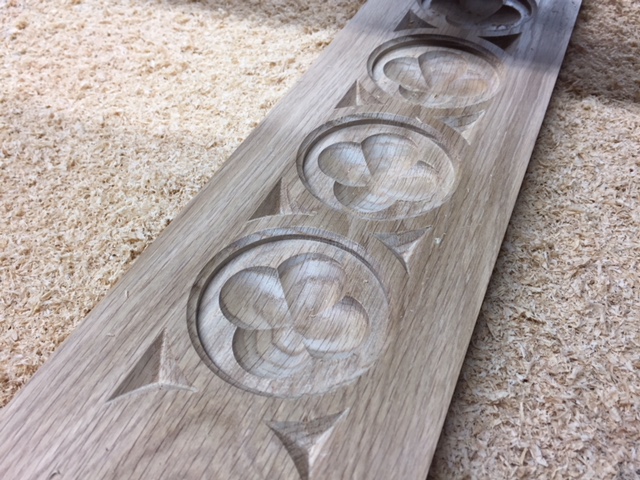
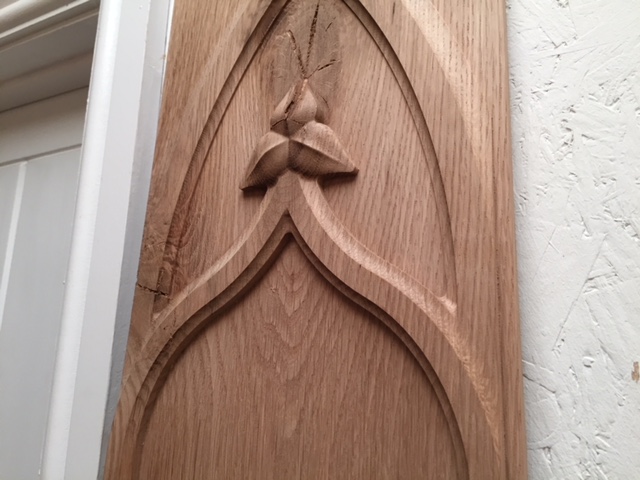
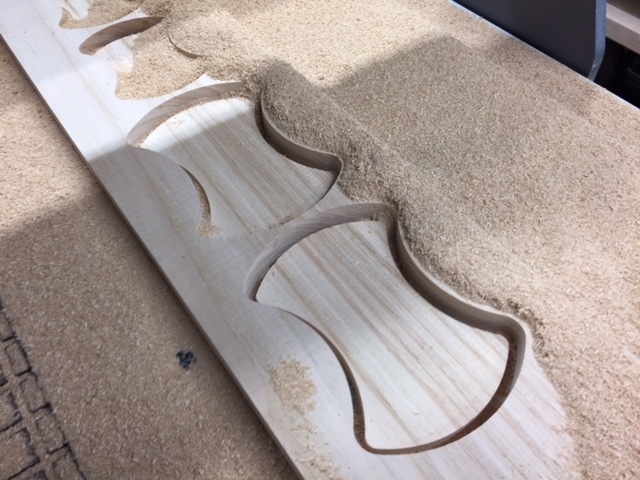
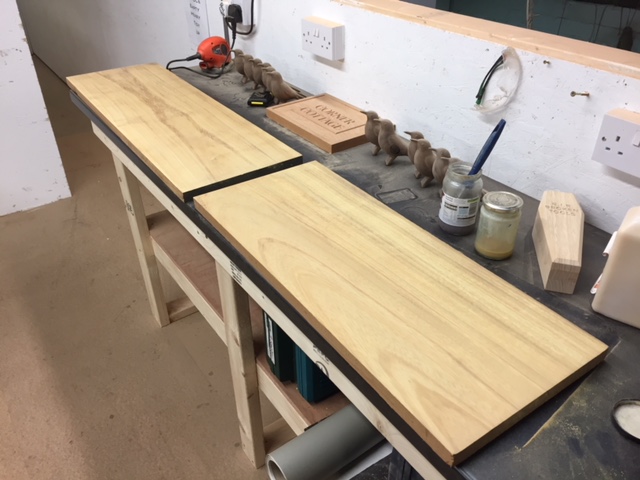
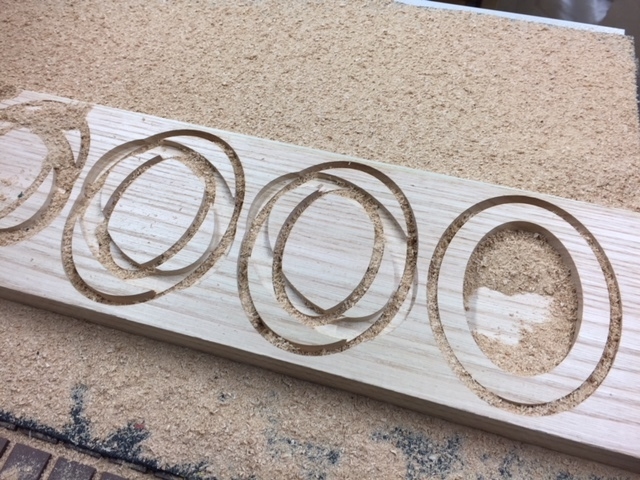
The part shown in the first three images below is a proof of concept for how we're going to make the individual pieces to assemble a very large, ornate frame to go into a triangular window on a big greenhouse (you can see the window in image 4). This part was cut by machining the rebate first on the back, then cutting a groove to slot the rebate into in some MDF, this allowed me to align the top side and cut the moulding shape into it. Now I know it works I have to cut about 30 parts like this that all need to slot together to make the complete window...
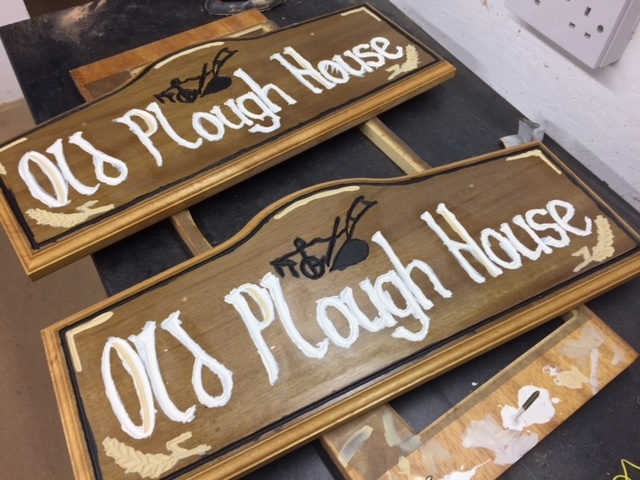
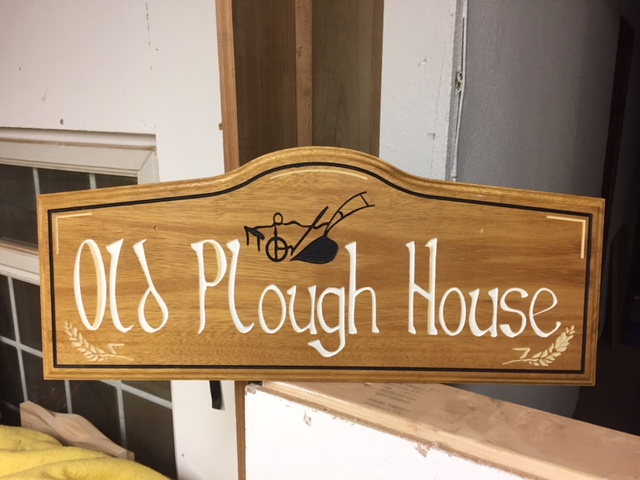
The fifth picture shows the finished house signs I've been working on for the last week or two, they'll be collected tomorrow. The sixth image shows some concave handles I cut into a chopping board the other guys in the workshop made as a gift. I would not normally post something like this but was really happy with the way the shape cut through the different coloured woods.
The next two rows of pictures are samples we made for a customer who wants to create a very ornate Gothic themed kitchen. The quatrefoil was fairly standard but Tom (who I share the workshop with) suggested we make the inside shape concave. I was not sure how this would look but the finished effect was excellent and added a slightly modern twist to an old design. The arch panel shown will be the base for all the doors in the kitchen although the finished one may be even deeper. The poppy is a motif the customer would like us to include in various places in the layout and finally with these samples the diamond pattern post was an exercise to see what texture we could cut with a point-roudover tool. This was cut on one side of a 60mm post then rotated to repeat the same toolpath again. Now we'll see if the customers likes all these and if so then that will mean a lot of work for the CNC (and me)...
The last three rows of pictures show this week's Friday morning project. These were inspired by the family needing a small set of shelves to go into a disused fireplace. I was going to do a simple rectangular set of slot together boards. Although part of the Friday challenge is not to do things the quickest or easiest way and once I start messing with something it tends to take on a life of its own anyway. As you can see from the final design, these are anything but rectangular. The shelves are all curved, they have a pocket cut into the back along with the special fillets in the corners to allow the joints to fit squarely with the uprights. Each of the vertical panels is made from two pieces that slot into the shelves with a deliberate offset gap in between curving up through piece. Finally I added a bowtie shaped pocket between the front and back to pull the parts together and create a decorative element with the grain going horizontally. It took longer than intended to create this (as I originally envisaged something much simpler) but from sitting down at the PC to finished part was about 4 1/2 hours, which given how nice it looks I thought was entirely reasonable. A genuinely pleasing part of the process is how well all the pieces slotted together with minimal effort, the bowties ensured that the spacing and joints were all pulled tight - although it was already pretty close. As shown in the images this is not glued - just gently knocked together and it is completely solid. I will probably pull it apart to finish and then use some glue but it does not really need it. The parts were all cut from the 24mm chestnut boards I've been using for my R&D projects for the last few weeks. Its not the cleanest wood with a number of colour imperfections but for me that just adds to it. It was all cut with a 1/4 inch end-mill tool, 2D pockets and profiles.
Having brought it home, it got thumbs up from everyone whose seen it, which is always the ultimate seal of approval.