Tattooed Fists
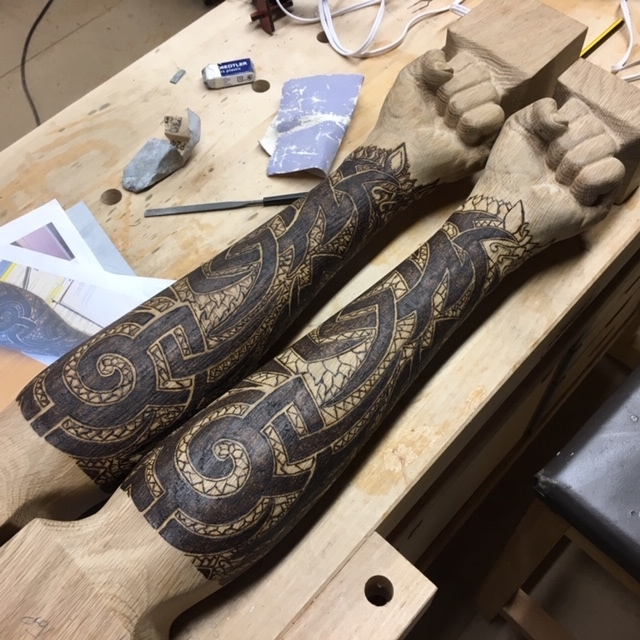
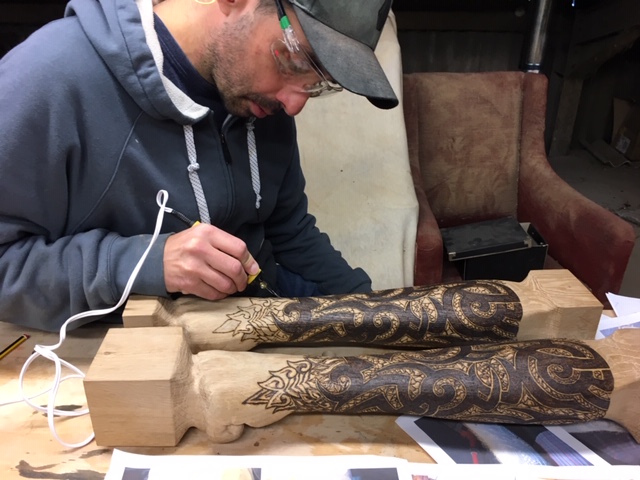
Out of necessity I’ve been learning how to tattoo for the last couple of weeks. In particular to transcribe the tattoo of my client onto the wooden arms/fists I made. This proved to be a challenge (to say the least). I started by drawing a couple of flat versions of the tattoo on paper based on the photos of the clients arm, this was to figure out how everything lined up as the tribal patter went around his arm and ultimately proved invaluable. Then I pencilled the design onto one of the arms. This again took a while and multiple erasings to get things spaced correctly and working right. Once the pencil version looked OK I started the pyrography. This uses pen with a heated metal nib to literally burn the design into the wood. If you make a mistake then you have to sand it off… so I proceeded to carefully outline the main black areas. Next I filled the solid areas and then added the outline and finally the detail. Once the first one was finished I used that to help me do the second so this was quicker but still time consuming (approx. 4/5 days to do all the work for both arms). The various stages can be seen in the images below. I was very happy with how these turned out and the finished result exceeded my expectations of how good this concept would look. The customer will be seeing them in person today, I hope he likes them as much as I do…


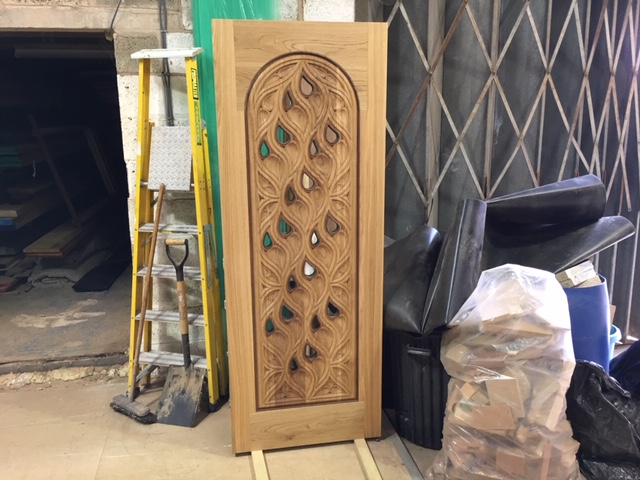
Door Update
The door I have been working on was put into its frame, sanded and a walnut inlay added around the inside of the rails and stiles. We also placed the walnut beads I made to hold the glass in place and put a coat of oil on it. This now just needs sanding back, more oil and the glass putting in place. The walnut really accents the panel well and I love the way the grain of the oak looks on the scalloped areas.


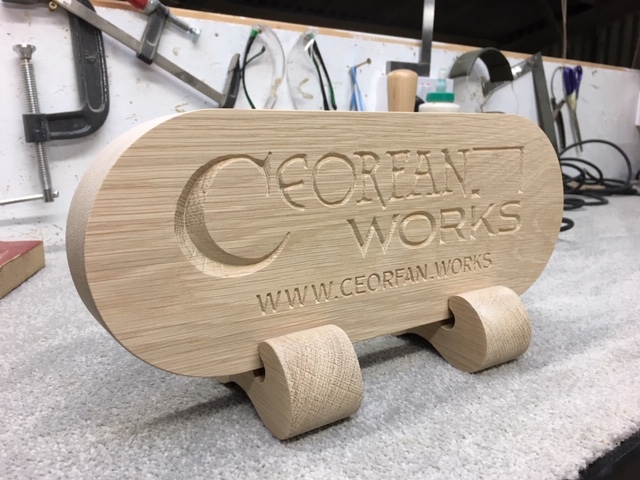
Samples
Below you can see a few random items I’ve been slotting in the past couple of weeks. The first is a new design for the magnetic key-holder. I like how this looks but don’t think the oak works for it so will probably stick to maple like the first one I built. The second image is a small sign I made to put next to my display at the Vectric User Group that I attended on Wednesday. It was good to see the new features going into the software and catch up with some old friends there. The final image is some egg and dart I modelled and machined based on a photo supplied by the customer. This was a machining test to see how it looked and time how long it takes to make so I can give him an accurate price on carving 12 metres of it!


Plywood Desk
My son needed a desk for his room. It had to fit over a box surrounding some pipes and also fulfil his wish list of having shelves, a tilted drawing board and looking “cool”… I volunteered to make it and ended up creating a design to use up some sheets of 12mm plywood I had in the workshop. Originally I designed it with plywood legs but a mistake on my behalf, running the same file twice instead of making the left and right meant I ran out of material (doh!). Some hasty design changes and adjustment meant I could still complete it without buying more material, but I did need to source some metal legs to add on instead. The whole thing took me about 50% longer than it should have to make as tends to be the case. This but does the job and most importantly the customer was very happy with it… You can see some of the parts being cut below (it all slotted together straight off the machine) and the desk with and without the drawing board in place…


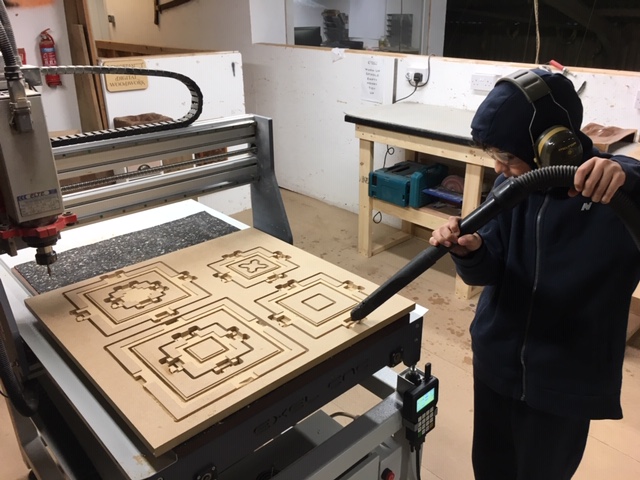
Mayan Pyramid
The last thing I worked on (literally this morning) was also for my son. His homework this week was to draw and describe a Mayan Temple - they also said if he wanted he could make a model of one too. I thought this would be a fun thing to work on together so I can show him the CAD/CAM process and something cutting on the CNC. We designed some files to cut into 18mm MDF that would stack up on each other to make the pyramid and also the steps going down each of the sides. You can see a willing helper vacuuming and sanding in the first two images and the finished pieces stacked up and glued in the third. Following this we scraped away the excess glue and put sanding sealer on it so it can be sanded back and painted tomorrow. It was really good fun and some “stealth” education to work on it together and we were both pretty pleased with how it turned out…