The majority of my time this week has been spent continuing to make window frame pieces for the large greenhouse the guys in the workshop are making. The first row of photos show the hub being cut, the last four outer pieces on the machine and the parts I've cut assembled on the floor. In total there are 34 pieces which now need to be finished and assembled - thankfully not by me. These parts have all been carved from 45mm thick Sapele, cut on both sides to create a 20mm deep rebate on the back and then the moulding shape cut on the top. All of this was done using simple 2D toolpaths either with a flat ended cutter (End Mill) or an Ovolo cutter for the moulding shape. Its been quite a marathon of organisation and toolpath creation. The week after next I'll be cutting beading and glass templates for the same window.
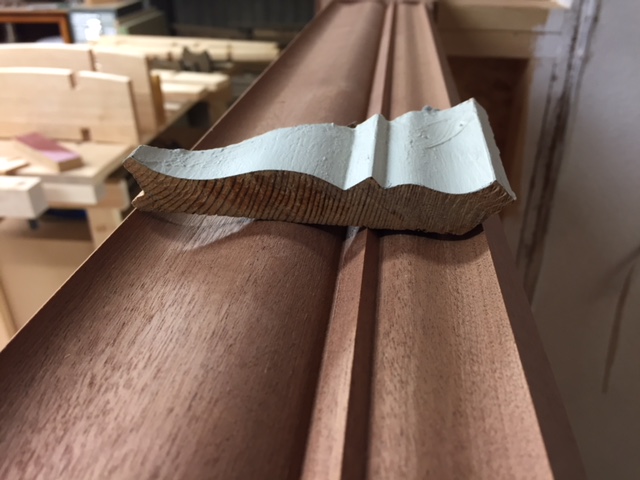
On Wednesday I had a break from cutting these to replicate a piece of old moulding for an installation the guys needed to finish. I took the sample they had and re-drew it in Vectric's Aspire software taking measurements from the original. I then cut this using a combination of 3D toolpaths for the curved sections with a 90 degree cutter for the angles and sharp corners. It looked really close to the original and when they installed it the guys said it was spot on. You can see one of the lengths being cut in the second row of image along with the finished section on the machine and a comparison with the sample pieces I was given to copy.
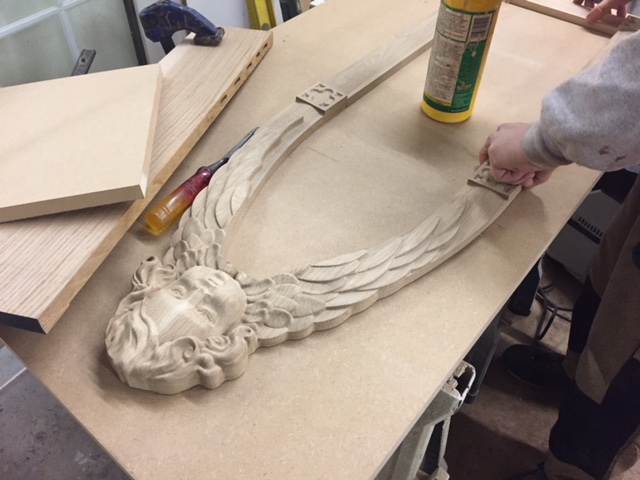
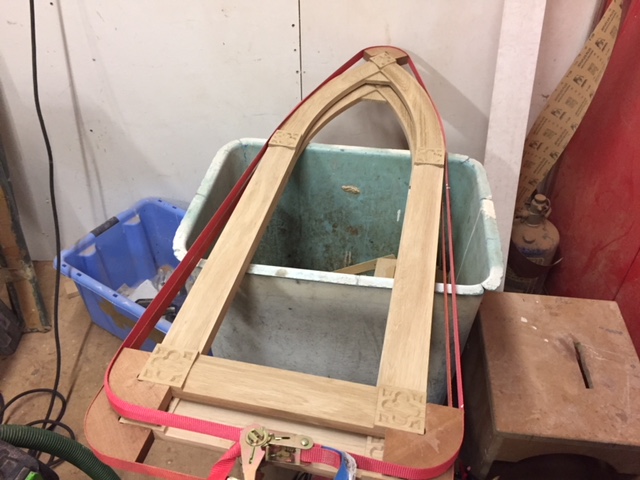
Something else that has progressed this week without my help is the Cherub window that I cut the parts for last year. Adam has been assembling these and building up the casement as you can see in the third row of images below. They'll hopefully be finished and installed in the next week or two.
For my Friday project this week I made something I call "Squabble" which you can see in the fourth row of photos. The idea with this is that if you had an argument with someone you could use this to unambiguously indicate whether you were ready to make up or not. Each letter is two sided and from one side it says "Love You" and from the other you can indicate that perhaps your still mad with them. Each letter was cut top and bottom and then the stand was made from two pieces cut separately and then glued together. As much as I made this mainly to entertain myself I was quite happy with how it all came out and how the letters handle and sit on the stand. The Friday projects so far have always proved to be a useful exercise and fun, which is what I'd hoped they would be.
The last row of photos tie up some loose ends from old blog entries. I finally installed the sign for our cottage onto the wall to replace the old one. I oiled and glued the shelves I cut in my Friday project the other week, you may notice I decided to stain the bow-ties which makes them stand out nicely. The last photo shows how nice the wood for your fire basket can look when its off-cuts from a greenhouse window...
I'm not in the workshop next week so they'll be nothing new for a couple of weeks now.


