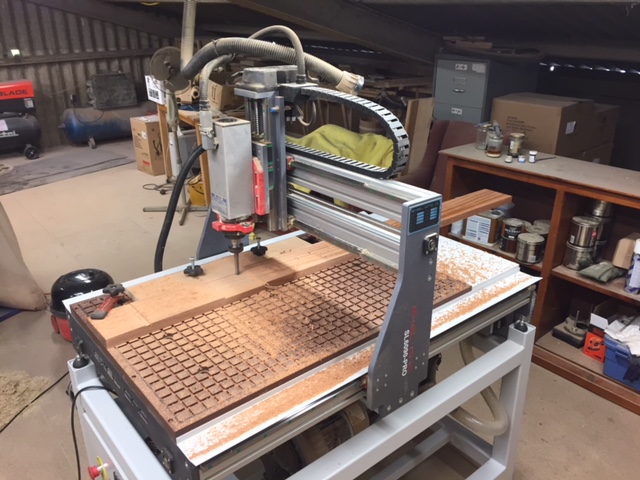
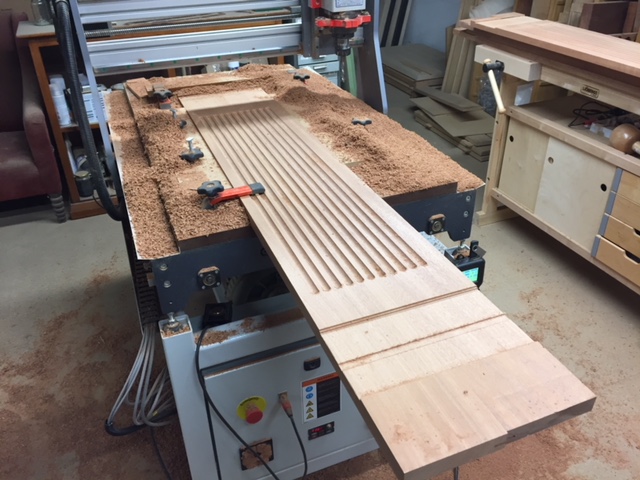
Igor (the CNC machine) has been pretty busy this week making parts for Thomas Philpott Cabinet Makers - the company who I rent workshop space from. Monday and Tuesday were spent making the parts to construct two fluted columns for a window surround they are making. Then on Wednesday I started work on a very ornate greenhouse window, that should keep me busy most of next week as well.
The fluted columns were relatively simple but included some interesting logistical challenges. Each column is 2.65 metres long (almost 9 feet) and includes the fluted sections along with some decorative pyramid shapes. My CNC can only cut a 900mm (3 feet) length at one time, so I knew I'd have to do multiple setups to cut the long pieces, so I figured i'd start with the easy pyramid shapes and get the machine running. These were just modeled in Vectric's Aspire software and then I created 3D toolpaths to carve the angular shapes and pocketed around them to leave a small vertical edge. These were cut to size so they could be inserted into locations I would cut into the longer sections. They were pretty quick to cut (in poplar) and while they were machining I started working on the setup for the long parts. I decided to make each of these in two pieces; top and bottom. Each one needed three setups to carve the bottom pocket, top pocket and then the flutes. This took a bit of working out but once I'd got the process down it was fairly easy, you just need to carefully measure when you position them. In this case I did not use the tiling feature in the software but just manually moved the drawing in between each toolpath as they were arbitrary distances. In total there were 8 fluted pieces, so 24 setups, these were all carved in sapele. In the second row of photos you can see these having been assembled and primed. They'll be painted on-site to match the other furniture in that room. Jobs like this are interesting because they could be done using traditional tools but as one of the guys in the shop commented - "...they would have been a bastard to do by hand." On the CNC, although I had to work around the multiple setups once you've thought through the process then cutting the parts is quick and easy and each one turned out perfectly and were apparently easy to put together.
The greenhouse window is a different and significantly more complex challenge. You can see in the image the drawing of what the finished window will look like. Its approx. 3.2 metres wide (10.5 feet) and 2.4 metres high (7.8 feet) so pretty big, I've been asked to create all the curved pieces for the internal frame. Each of these has to be rebated to accept glass on one side and have a moulding shape cut into the other to match the rest of the greenhouse. Last week I made a prototype to test the process of how to make these which worked well. This week I've started to put that into production. Each part is cut from the rebate side first, pocketing out the material to leave the ridge proud. These are 20mm deep out of the 45mm thickness of the material (sapele). To cut the moulding side I machined grooves into a sheet of MDF, these grooves were designed so that would let me insert the ridge on the rebated side. By doing this I could ensure when I cut the moulding shape they would line up perfectly. The moulding shape was done in 3 toolpaths, a 1/2 inch profile to clear out a small ridge, an Ovolo shaped tool to create the bead and top ridge and then finally a 1/4 inch tool to cut them out. Each part has its own profile which should allow them to be more easily assembled. You can see the process in the images below. I was able to make 15 pieces of the frame this week and will get the other 19 pieces hopefully all cut by the middle of next week. It'll be very interesting to see how it all comes together once they are complete...
I did not have time for a quick Friday project this week but plan to head into the workshop tomorrow to make something fun.


