Thankfully the milder weather has made the workshop a much more hospitable place this week. I spent Monday finishing off the final few parts of beading for the Greenhouse Window, in the end there were 91 separate parts that should fit "almost" perfectly when they put the glass in place. The rest of the week was broadly split between two projects; the first was a pair of frames to display four vinyl record picture disks and the other was some small gifts that I decided to use the v-inlay technique on, these are described in the two sections below:
Picture Disk Frames
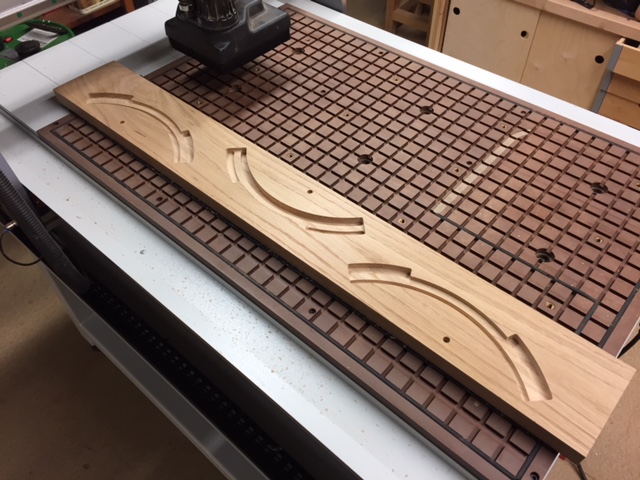
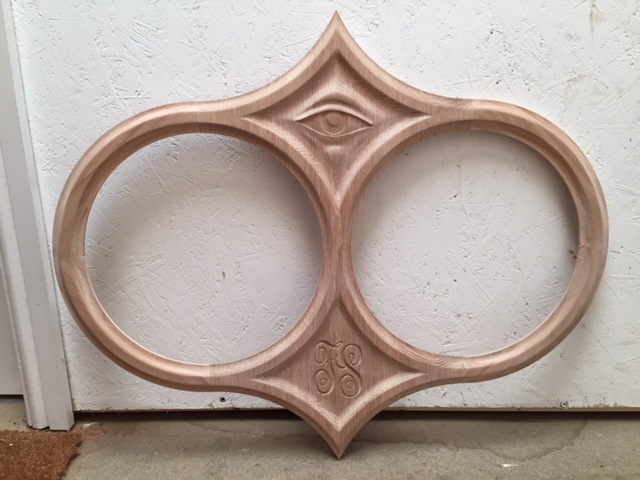
The design for the frames is mostly made of curved pieces to complement the shape of the disks. This makes for an original shape which I really like. The centre part has a subtle carving of an eye that echoes the picture that is on the disks that will go in them at the top, then a monogram at the bottom as per the customers request. All the parts needed to be made two-sided as on the back there are rebates for the glass and the back-plates along with a pocket for a joining piece to help assemble the tricky shape.
The outer frame pieces were cut into three oak boards. I did the backs individually with the vacuum hold-down then the fronts were set up as a single job with all three boards cut in one setup. You can see these along with the circular backing-plates and joiners in the first row of images below. In the second row you can see the centre portion, back, then front and finally the rough layout on the bench.
To assemble the frames the joining pieces were glued into the pockets and then the whole frame was pulled together with a band-cramp (a strap that can be tightened) to pull all the joints together. The joining pieces were critical to force everything to line up correctly without slipping and ensure that it would stay flat, you can see these in the first two images in row three below. This worked really well and we did not have to do too much adjustment. After the parts were glued I spent a couple of hours giving the front a good sand, you can see one of the completed frames in the last image. These will now need sealing, further sanding and final finish before the disks and glass go in. They should look really good when completed.
V-Inlay Projects
I needed to make another couple of magnetic beer openers for gifts this week but rather than paint the design on the front as before I wanted to have a play with the v-inlay technique to use two different kinds of wood. This can only really be done using a CNC as you need to cut very accurate male and female parts using a v-shaped cutter. While making the beer openers I decided to also make a cheese board that is another idea I'd had for something mostly based on a play-on-words... (A thing that should not be) this one is a pretty bad pun even by my low standards.
This v-inlay technique (originally published by Paul Zank on the Vectric Forum) requires a male and female version of the design cut in different woods. These are both machined with the same angled cutter so they slot together with a space above and below to let the glue squeeze out and make a really good joint. Using the angled cutter gets very tight small details - if you get it right. I should have probably made a proof to test the process for myself but decided to go for it as that is more interesting... right?
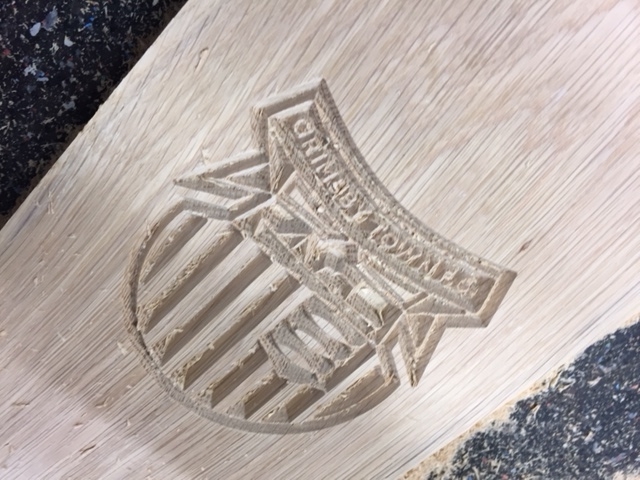
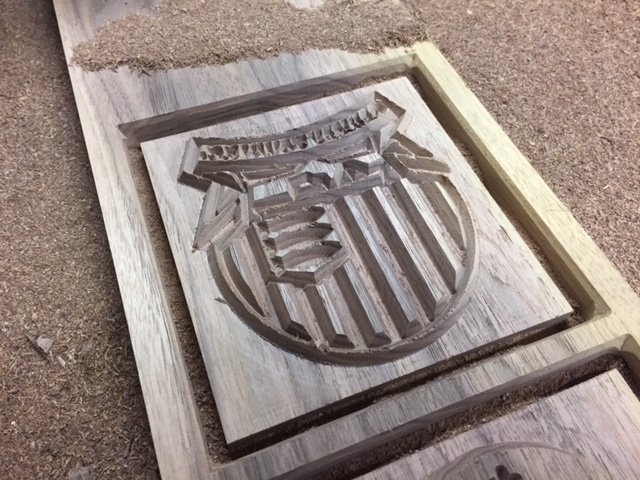
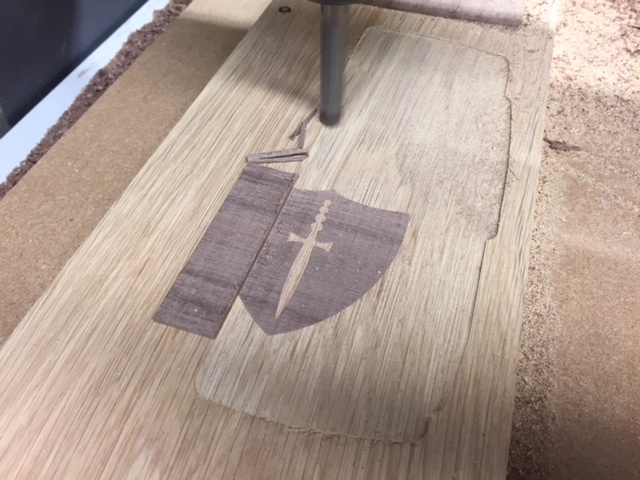
Below you can see one of my designs cut into oak as a female in the first image, then cut into walnut as a male followed by an image that shows all the male designs (mirrored of course). The second row of pictures shows the corresponding pieces before they were assembled then the parts glued and clamped. The last image on that row shows the walnut being machined away (the next day after the glue is fully dry). At this stage the image is revealed and will be perfect if you've got all the your depths correct. To line up the parts in between machining and gluing I created dowel holes that can then be used to re-orientate the part on the CNC. I also used these when flipping the material to cut the logo's into the back and the hole for the magnets on the beer openers, you can see these being machined in the first picture on the last row.
The final two images show the three parts as they came off the machine There is a bit of tear-out but this is due to my machining the oak much too aggressively. Overall I was really impressed with the inlays and with a tiny bit of filler, some sanding and oil they should look perfect. Most importantly I've proved the process now and understand how to get even better results next time.

